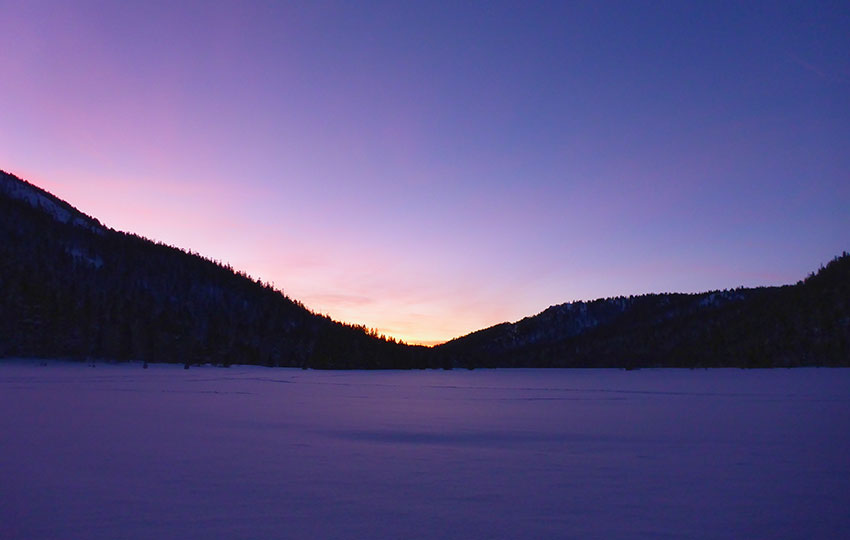
Snowshoes, or some version of them, have been around for thousands of years. For most people today, however, their use is less about survival and more for recreation. Although the technology used to make contemporary snowshoes is superior to those of antiquity, the goal is the same. They are designed to enable a person to travel efficiently and effectively over snow-covered terrain.
The basic operation of traveling in snowshoes is relatively simple. Just pick up your knees and widen your stance a little. However, there are always considerations to take into account when traveling in snow country.
Knowing how to use the tools at hand (or on foot!) is paramount for a safe and enjoyable journey.
In this Snowshoeing Basics series of articles and videos, I’ll share with you various concepts related to snowshoeing. These range from their design and construction to movement and technique.
Support Tahoe Trail Guide with a financial contribution via PayPal (single contribution) or Patreon (reoccurring contributions). Your support of Tahoe Trail Guide is very much appreciated!

Snowshoeing is an easy and accessible way for nearly anyone to enjoy the great outdoors during winter. Clearly, it’s always a good idea to engage in strenuous physical activity only after you’ve achieved some baseline athletic level of fitness.
With snowshoes, however, you can regulate your speed and the amount of effort you exert quite easily. There’s no gliding or sliding involved as with cross-country skiing, for example. So just stop when you’re tired. And then continue marching when you’ve rested!
All bets are off, though, when you’re attempting to travel through more than a foot of fresh snow. That’s a challenge no matter your state of fitness. But if you pace yourself, you’ll be fine.
When doing winter photography with my more expensive DSLR camera, I prefer traveling in snowshoes rather than cross-country skis. They’re more stable, which lessens my risk of falling and burying my camera in the snow.
Also, I notice more details when snowshoeing that I may otherwise miss while zooming by on xc skis. This is due to the inherently slower nature of snowshoeing.
As a former snowboarder who used to enjoy backcountry riding, I would climb to the tops of snow-capped mountains in snowshoes. Then, I’d strap them to my backpack and ride down.
Admittedly, I use snowshoes more for utilitarian purposes nowadays. During Snowpocalypse years at Lake Tahoe, for example, I wear them while packing down the mountains of snow that accumulate around my driveway and walkways.
Snowshoes are, after all, just tools (albeit mostly for adventure).
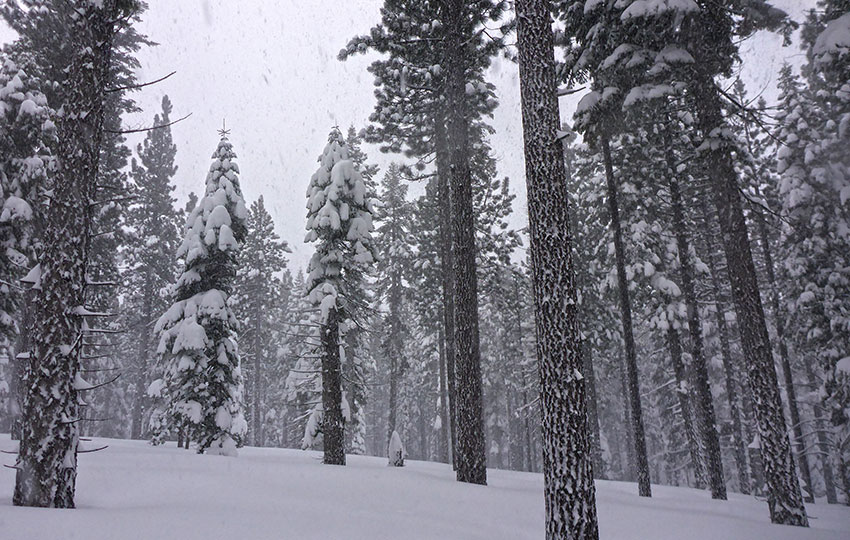
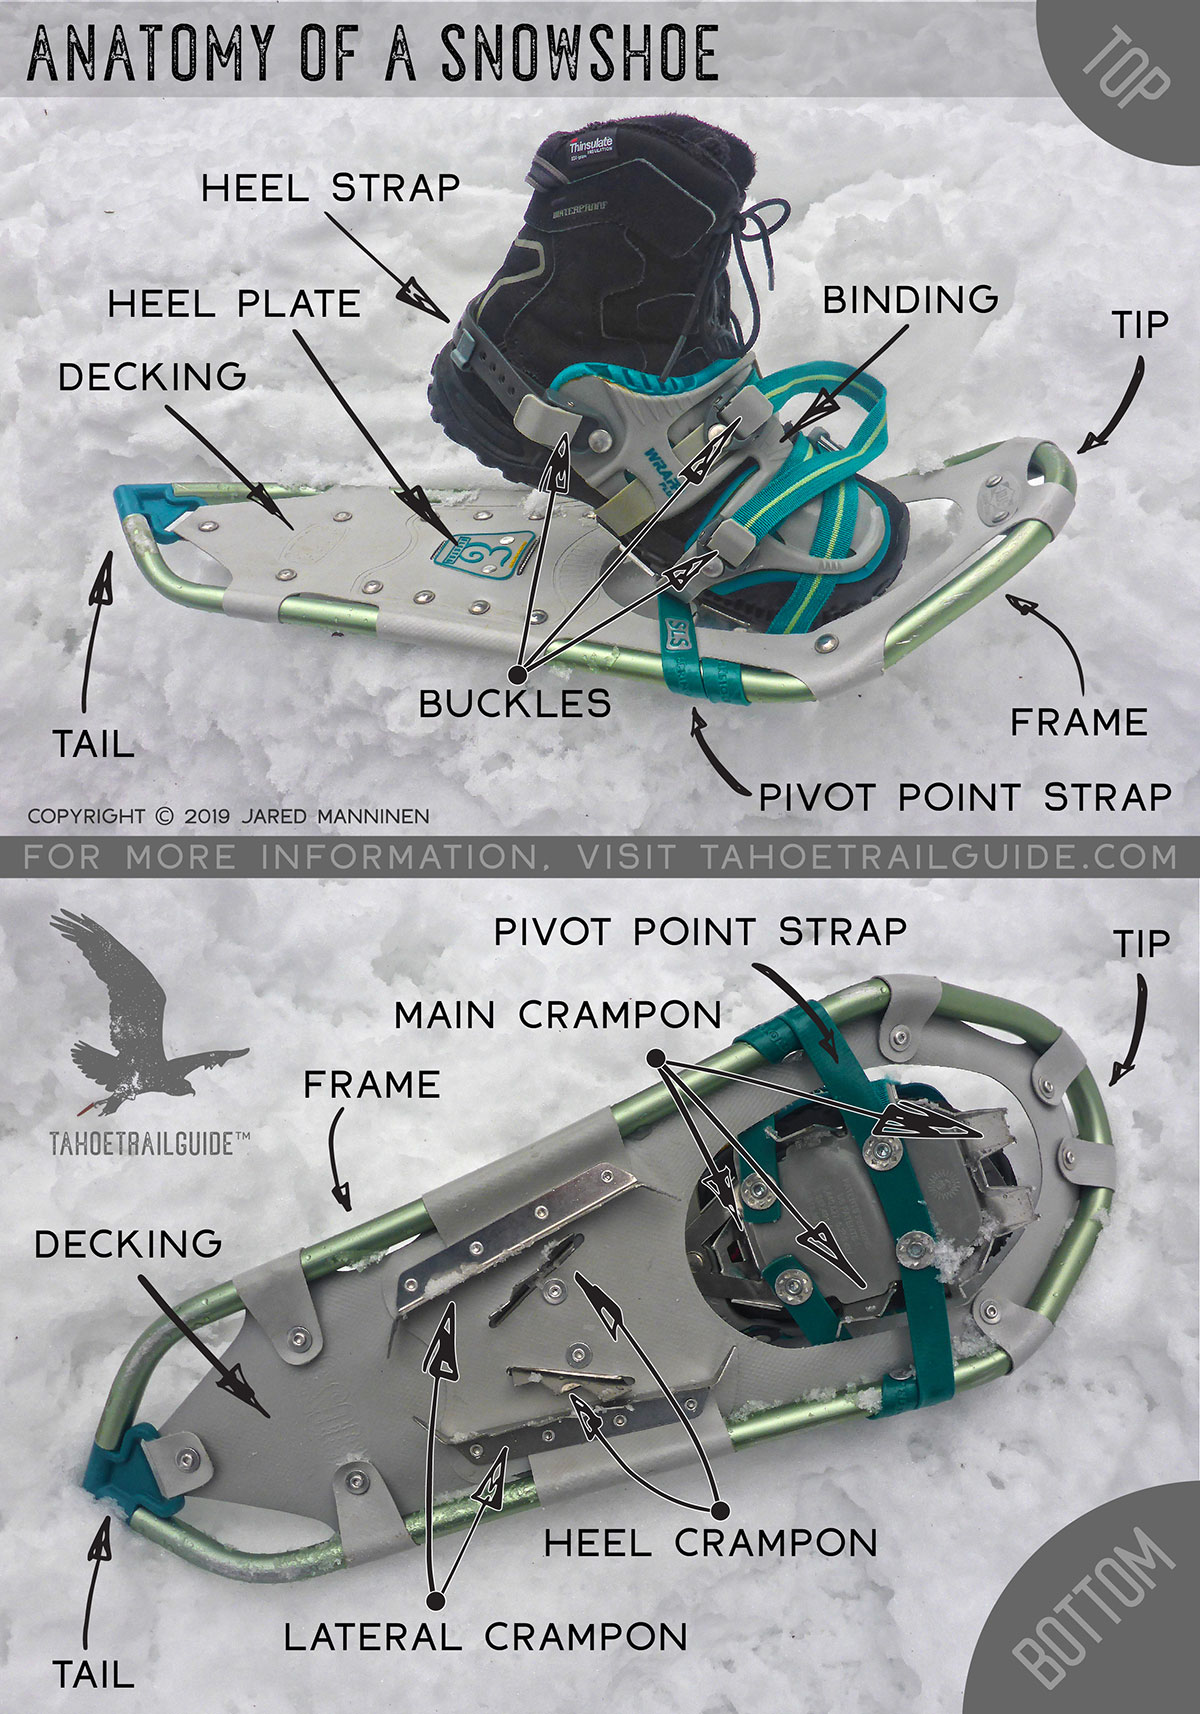
Anatomy of a Snowshoe:
There are a million-and-one different styles of snowshoes in circulation. So, there’s no point in me trying to cover them all. Instead, I’ll cover basic design and construction concepts in order to help you gain a better understanding of them.
Snowshoe Bindings
As far as I’m concerned, bindings are the most critical component of any snowshoe. In fact, my only real litmus test for a snowshoe is whether or not I’d be able to quickly release my feet from the bindings with one hand if I were trapped upside down in a tree well.
I understand that this sounds morbid and extreme. However, for me, there’s really no other consideration when looking at snowshoe bindings. I simply want to be able to extract myself from the snowshoe as easily as possible in a worst case scenario.
Snowshoe bindings won’t tear apart or let your boot slip out of them when built by a reputable company such as MSR, Atlas, or Tubbs. Those bindings will work just fine.
It’s important that the boot you wear when snowshoeing fits properly in the bindings. And, that you don’t experience rubbing or chafing from the bindings when walking.
However, you’re only real concern is that you can take those snowshoes off with the least amount of effort in the most dangerous of situations.
Generally speaking, the more complex a binding looks, the more challenging it will be to get out of. For this reason, I prefer snowshoes that feature basic rubber straps.
A complexly designed binding will probably be more difficult to repair in the field, as well. On the other hand, you could easily replace basic straps with paracord that you have on hand. At least this would suffice in the short term.
Most snowshoe bindings feature buckles located on the outside of the bindings. The reason for this is to minimize the chance of accidentally undoing the bindings while walking. I appreciate this concept, but it’s easier to undo the bindings when the buckle system is on the inside.
Again, consider this idea with regard to my worst case scenario described above. Reaching directly between your feet is easier than trying to reach the outside of both feet. And then consider how challenging it would be to reach across assuming you only have one free hand available.
A snowshoe binding’s pivot point is usually a rubber-type strap or metal bar. I prefer the softer style that uses a strap as it allows for a more natural gait when I walk.
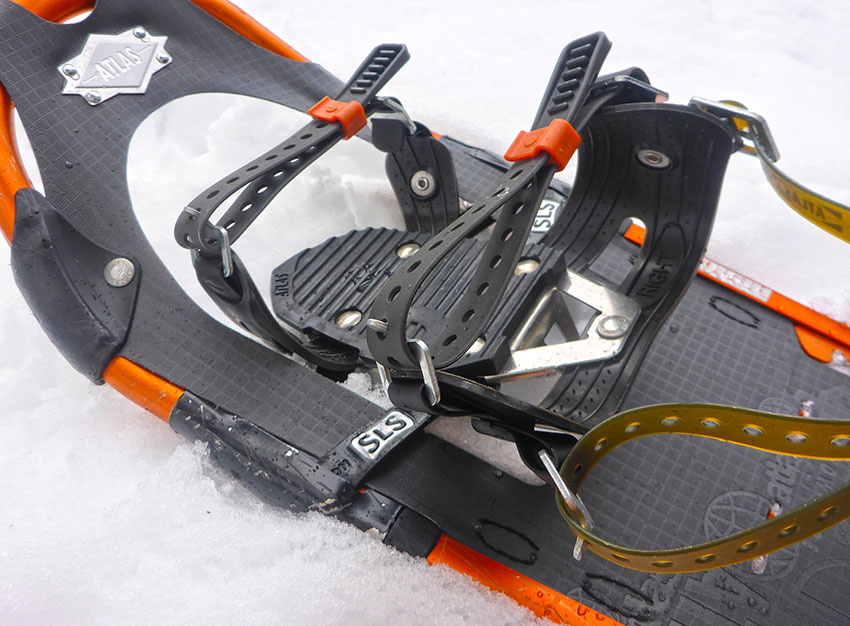
Crampons on the Bottom of Snowshoes
All snowshoes feature some type of crampons located under the balls of the feet and heels. To what degree of aggressiveness will those crampons be is a matter of function.
Snowshoes with less aggressive crampons are designed for light use and minimal recreation.
At the opposite end of the spectrum are mountaineering-oriented snowshoes. These types of snowshoes include an aggressive set of crampons underfoot, as well as serrated rails.
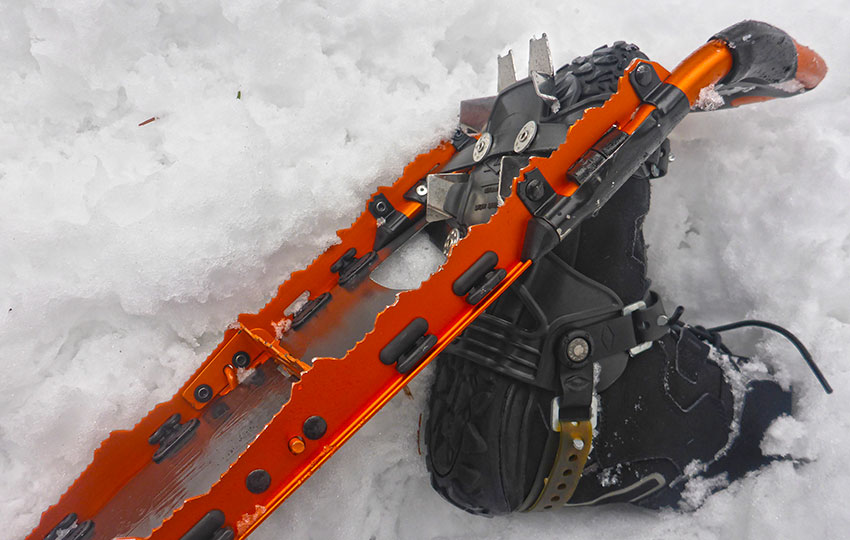
Snowshoe Frames and Decking Materials
Traditional snowshoe frames consist of natural materials, such as branches or shaped wood. Their decking is then created from a latticework of sinewy material such as rawhide.
Contemporary snowshoes often feature frames built from aluminum and other lightweight metals. And, manufacturers use softer and more pliable materials like nylon or vinyl for the decking. Sometimes, a manufacturer will us a relatively rigid sheet of plastic for the decking.
Soft and pliable decking provides great floatation while snowshoeing, but can be susceptible to punctures and tears. For that reason, avoid walking over brush, fallen branches, and other sharp objects with snowshoes that feature soft decking material.
Rigid plastic decking decreases the amount of torsion the snowshoe will experience. This means that the snowshoe won’t bend and twist nearly as readily as one with a soft decking. This makes for better energy transfer and more purchase.
That said, rigid decking can still crack or rip under the right (or wrong!) circumstances.
Correct Length and Size of Snowshoes
Snowshoes are sized according to your weight. So, don’t forget to include the weight of your clothes and whatever other winter gear you’ll be carrying when snowshoeing.
Smaller snowshoes are easier to manage. However, you shouldn’t have trouble operating snowshoes so long as you’re weight is relative to your size. For example, you’re not 10 feet tall and weigh 100 lbs or 3 feet tall and weigh 300 lbs.
Footwear for Snowshoeing
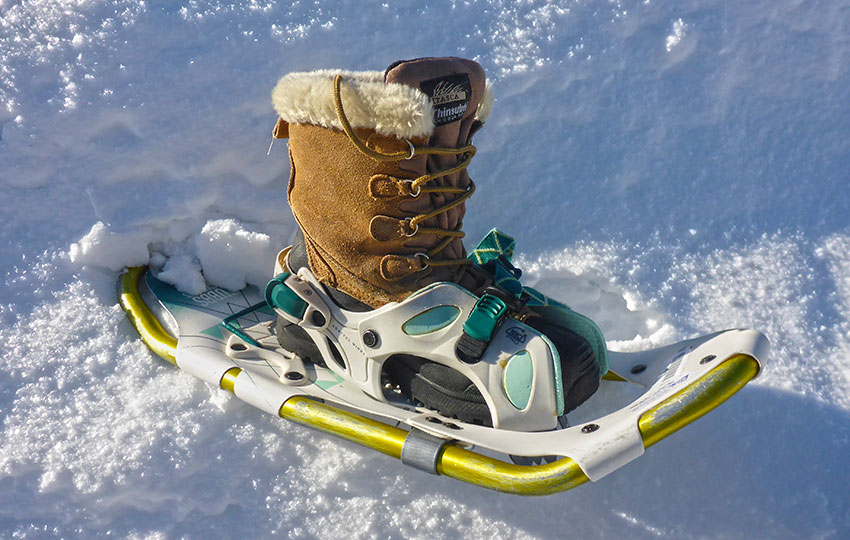
Finding appropriate footwear for use when snowshoeing can be a bit of a challenge. I know many people who live in snow country that don’t own a dedicated athletic snow boot.
Instead, they have either heavy-duty hiking boots or a Sorel-type snow boot. Although you can use either when snowshoeing, I prefer an actual snow boot designed for use during aerobic winter activities. Don’t get me wrong, I have a pair of Sorels that I’ve owned since 1996. And, they’re fantastic when I’m shoveling or blowing snow from my driveway. But, they’re too soft and bulky for me when traveling deep into the snowy backcountry on snowshoes.
My snow boot of choice is the Salomon brand Snowtrip winter boot. This boot is the pictured in the Anatomy of a Snowshoe diagram. Unfortunately, I don’t believe Salomon actually makes these boots anymore. I’m glad I bought a second pair when I had the chance!
I do also own a pair of Columbia brand’s Bugaboot III, which works really well for snowshoeing. So there are active/athletic winter boots available.
There are a few reasons that I like these types of boots so much. They fit in nearly any snowshoe binding thanks to their streamlined design. They’re firm enough to provide structure when married with a snowshoe binding. And, they’re still soft enough that my foot can move naturally and stay warm. Lastly, they’re just great boots to wear in general during the winter.
There are plenty of styles of winter boots out there for active use. So, I recommend looking into a pair rather than making do with hiking shoes or a bulky and soft style of snow boot.
Realistically, you could wear a running shoe with snowshoes so long as you’ll be traveling across consolidated snow. Basically, you won’t sink much into the snow so your feet won’t get wet.
However, the problem you run into with using such a lightweight, low-top shoe is that the bindings will irritate your feet. The straps pinch your feet because the light shoes are too soft. The ankle strap can dig into your Achilles’ tendon if it slips over the back of a low-top shoe. And, it always feels as if I’m going to pull my foot right out of my shoe when wearing low-top shoes.
Snowshoe Movement and Technique
Since this article is only an introduction to snowshoeing, I’m not going to describe in detail the various techniques you should know when snowshoeing.
I admit, though, there’s not a ton of technique involved when traveling across flat terrain. Nor are there too many major concerns to consider in that same scenario. The basic idea when snowshoeing is to raise your feet a little higher and walk with a slightly wider stance. And try to avoid walking backward in snowshoes. You run the risk of tripping yourself when doing so.
Those two aspects cover most of what you’ll need to know when dealing with flatter terrain on consolidated (packed) snow.
Things become more problematic once you start to snowshoe higher into the mountains. Or, through deep snow in the forest. Once you start to travel uphill, for example, you’ll have to decide whether you’re going to…
- travel directly up the fall line
- traverse back and forth
- or, contour the terrain in a more gradual fashion.
When reaching a hazardous terrain feature, you should know how to safely walk backwards and make agile twists and turns. Such impasses include water features, ledges or precipices, or thick underbrush.
When you fall down, particularly in deep snow, you need to know how to efficiently get back to your feet.
Trekking poles are optional when snowshoeing. That said, I recommend them because they provide two more points of contact. And, trekking poles make it easier to get up once you’ve fallen.
Watch my video Snowshoeing Basics: Movement and Technique to see some of the snowshoeing techniques I recommend learning. On this day of filming, and the days leading up to it, Lake Tahoe received multiple feet of snow. So the conditions were as challenging as they come even in snowshoes!
For more information about winter travel read, Considerations for Winter Adventure in Lake Tahoe’s Backcountry. Although I wrote it with visiting Lake Tahoe in mind, the concepts I describe are universal.
Snowshoeing Basics Mini-Series
Please note that I wrote and produced this collection of Snowshoeing Basics articles and short videos about snowshoeing with the beginner and intermediate adventurer in mind. This is the demographic for whom I most often served while working in the outdoor recreation industry at Lake Tahoe. So, I treat these informational blogs as extensions of the conversations I’ve had with those customers.
That said, expert adventurers and mountaineers could probably take away something of value from these articles. Just know that I don’t intend to specifically address performance or race-oriented philosophy, technique, or gear selection in this series.
Love snowshoeing and peeing in snow.
What’s not to like about both activities – haha! 🙂
Thank you I loved you blog about snow shoeing.
I went the other day and really felt how aerobic it was
Hey Brenda,
Thanks so much for your kind words. I appreciate your feedback 🙂
And I’m so glad your enjoying snowshoeing! Definitely a great winter activity and vehicle for outdoor adventures.