Hiking to Emerald Point is an absolute dream. The trail contours the north side of picturesque Emerald Bay. It’s a relatively short hike at 5-6 miles (out-and-back). There’s only about 500 feet of total elevation gain to negotiate. Lastly, access to the trailhead is simple.
The drawbacks to hiking the trail to Emerald Point are that you’re treated to stellar views the entire time. Also, the trail isn’t that long and it’s mostly flat. And the trailhead is easy to find. Of course, I say that all in jest 🙂
*Please note that in 2025, there are major parking restrictions at Emerald Bay in an effort to mitigate the non-stop congestion, as well as address safety concerns. Here’s the article from the Tahoe Daily Tribune (June 19, 2025) discussing the details. There’s a shuttle service that’s running in conjunction with the parking restrictions.
Support Tahoe Trail Guide with a financial contribution via PayPal (single contribution) or Patreon (reoccurring contributions). Your support of Tahoe Trail Guide is very much appreciated!

There’s really only one drawback to hiking Emerald Point. Keep in mind that this drawback is the same for hiking anywhere near Emerald Bay. The place seems like it’s always crowded.
Emerald Bay is a total zoo, particularly on the weekends during summer. My recommendation is to hike this trail (or anywhere at Emerald Bay) at other times. For example, during weekdays and before 10 a.m.
Emerald Point Hiking Trail Data (approximations):
- Location: South Tahoe – Emerald Bay
- Category of Hike: Short Hike, Day Hike
- Total Mileage: 5.5 miles (out-and-back)
- Total Elevation Gain: 500 feet
- Highest Point: 6,600 feet (Vikingsholm parking lot)
- Trail Conditions: Packed dirt and some asphalt (since the trail travels through Emerald Bay State Park)
For other shorter hiking options, visit Short and Easy Hikes in South Lake Tahoe.
Considerations for Hiking Emerald Point Trail:
- Emerald Bay becomes excessively crowded, especially on the weekends during the summer. So plan to visit on weekdays and/or arrive before 10 a.m.
- Because Emerald Bay is so highly trafficked (i.e. being loved to death), be diligent about packing out your trash. Create as little impact as possible. Use the park’s toilets. Also, don’t remove naturally occurring objects (i.e. pine cones, sticks, stones…). And, don’t disturb the wildlife.
- Bring at least $10 in cash to pay for parking. Although, now there are digital kiosks that accept credit cards.
- Exercise extreme caution when walking along or across State Route 89 at Emerald Bay.
- Dogs are not allowed on any of the roads or trails that go down into Emerald Bay.
- Drones are not allowed in Emerald Bay or any other State Parks in the Sierra District.
- Adhere to all Leave No Trace principles.
- There are few trail signs and markers on public lands in the Tahoe region. So, unless there are tracks to follow, the correct route may be difficult to identify. When in doubt, turn back.
- Be prepared for inclement weather and carry plenty of warm clothes, food, and water.
- Leave an itinerary of your plans with someone who’ll call emergency services if you don’t return by your prescribed time.
Parking Directions for Hiking Emerald Point Trail:
There’s an abundance of parking options for accessing the trail to Emerald Point unlike most trailheads in the Lake Tahoe Basin. That said, this comes with a caveat..
Despite the number of parking options at Emerald Bay, way more people visit Emerald Bay than there are legal parking spots.
We Tahoe locals often joke about Emerald Bay as being a beautiful place to visit … with about 1,000 of your closest friends. This place turns into a zoo between Memorial Day and Labor Day. Yes, that’s all summer.
Therefore, I recommend visiting Emerald Bay before or after summer if at all possible.
But if that’s not an option, try to avoid visiting Emerald Bay during major holidays, on the weekends, and/or before 10 a.m.
There are three main options for parking at Emerald Bay to access the trail to Emerald Point.
The first and easiest parking option is to use the Vikingsholm parking lot. This is the large lot on the lake side of SR 89 that overlooks Emerald Bay. This is a self-pay parking lot that costs $10. However, you can pay with cash or credit card.
The second option is to park on the mountain side of SR 89. This is the parking lot that’s used to access the Eagle Lake Trail. This is also a pay lot and costs $5, but it only accepts cash and checks. The third option, and my preferred choice, is the parking spots directly off of SR 89 between the Eagle Lake parking lot and Vikingsholm lot.
There are about a dozen and a half spots that run perpendicular to SR 89, and they’re free. The trick is to get to Emerald Bay early enough to secure one of those free spots.
The trailhead is near the self-pay station at the back of the Vikingsholm parking lot.
Other than those three options mentioned above, parking anywhere else in or around Emerald Bay is at your own risk both physically and financially. For example, I don’t recommend parking at the area near Bayview Campground. Or, on the north side of the bay above Vikingsholm and think you’re going to walk down the road to Emerald Bay.
Both of those ideas are terrible. This is because at its peak, between tourists wandering along SR 89 and locals blazing their way down the road to get to or from work (throw in some road construction for good measure), Emerald Bay is a nexus of chaos.
I’m not trying to discourage you from visiting. You just need to understand that there are far better times in which to visit Emerald Bay. And I can tell you that it’s not on a Saturday or Sunday during the summer in the middle of the afternoon.
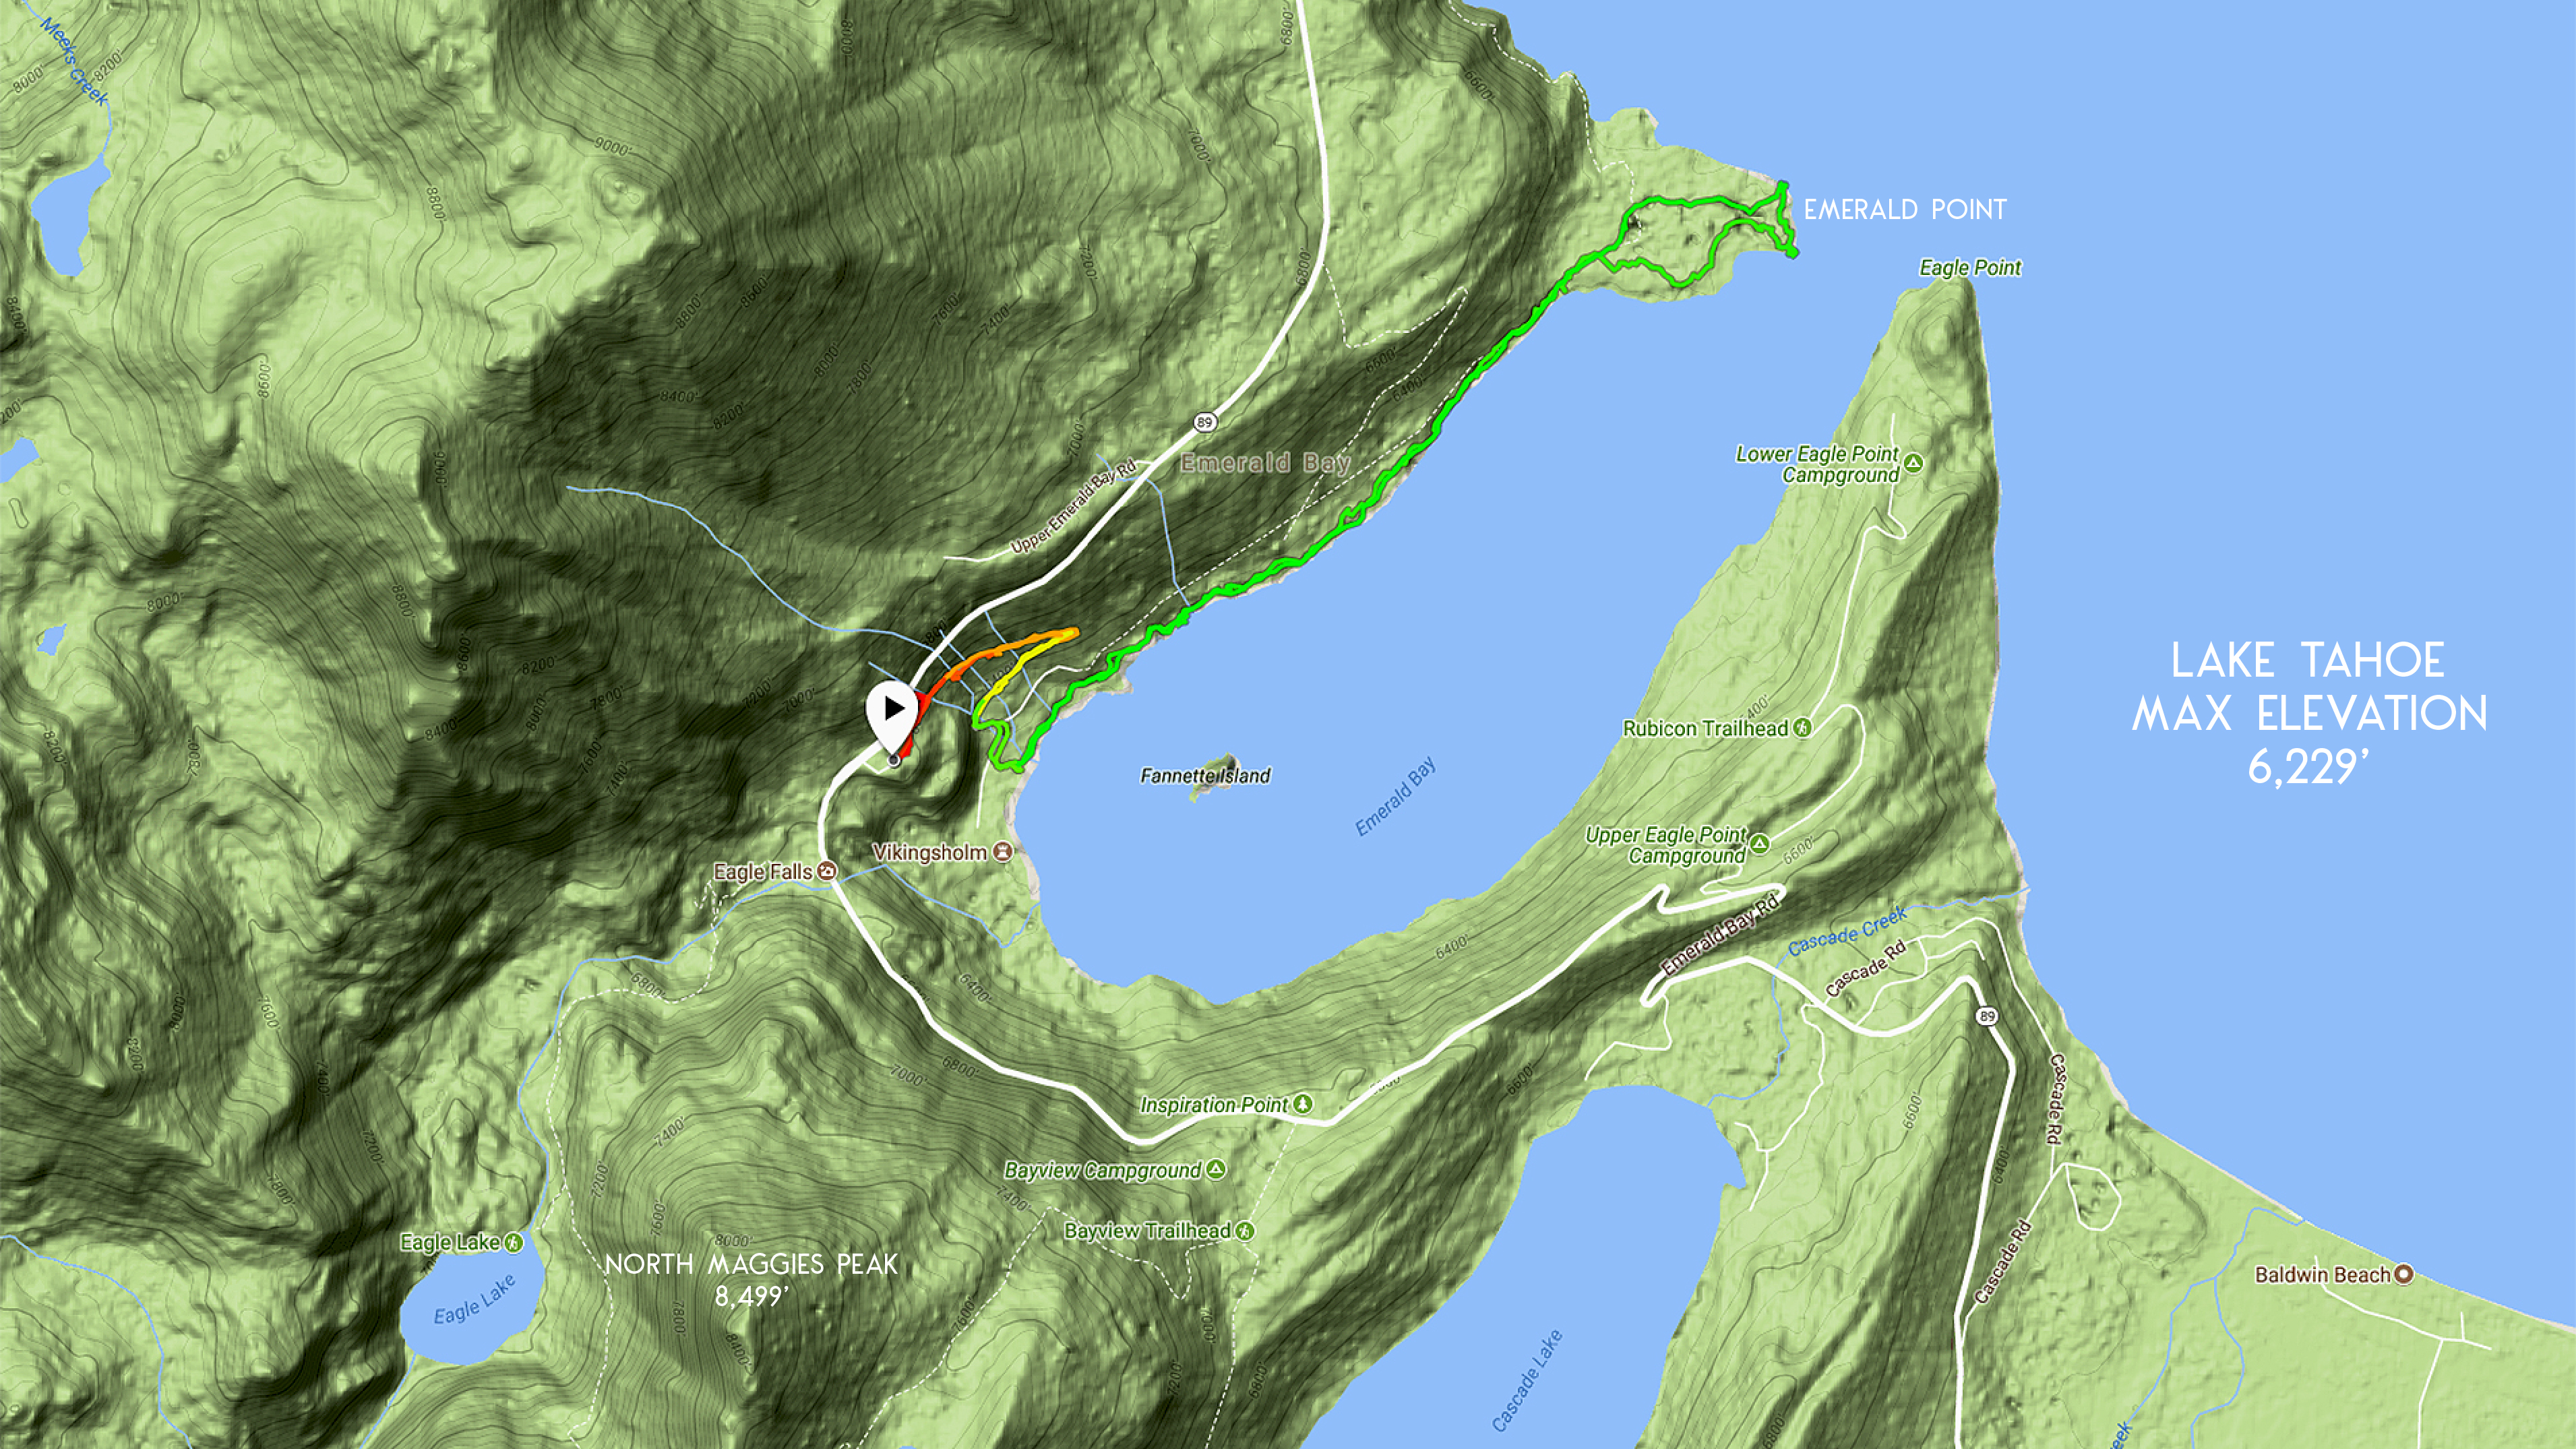
Here’s a map to assist you in finding parking for accessing the trail to Emerald Point. The marker for “Emerald Bay State Park” on this map is essentially the Vikingsholm parking lot.
Travel along the Emerald Point Hiking Trail:
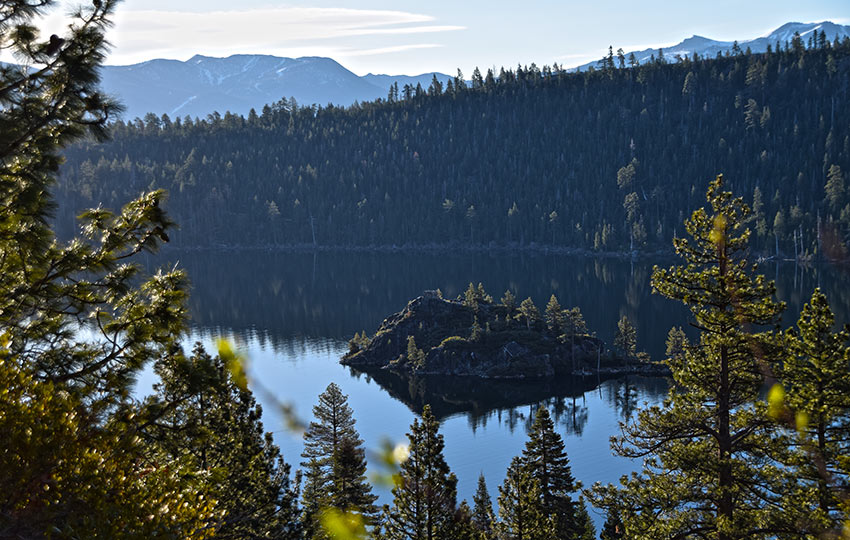
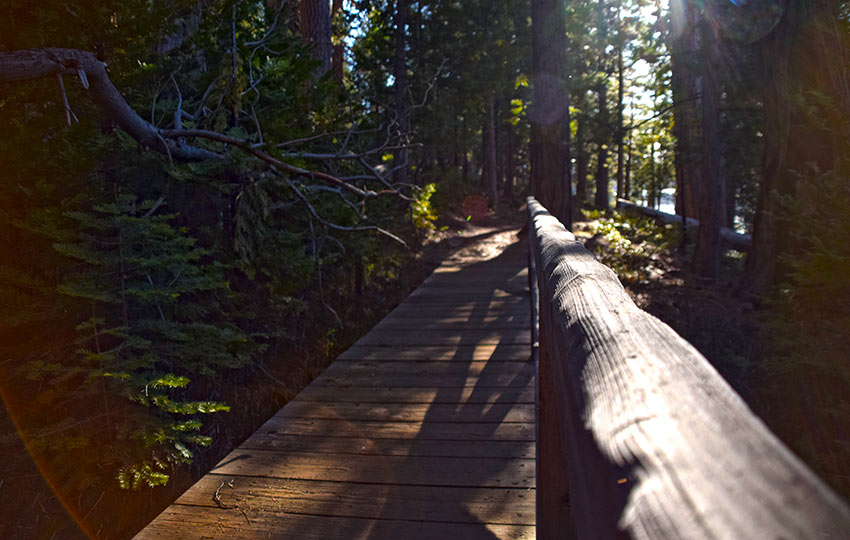
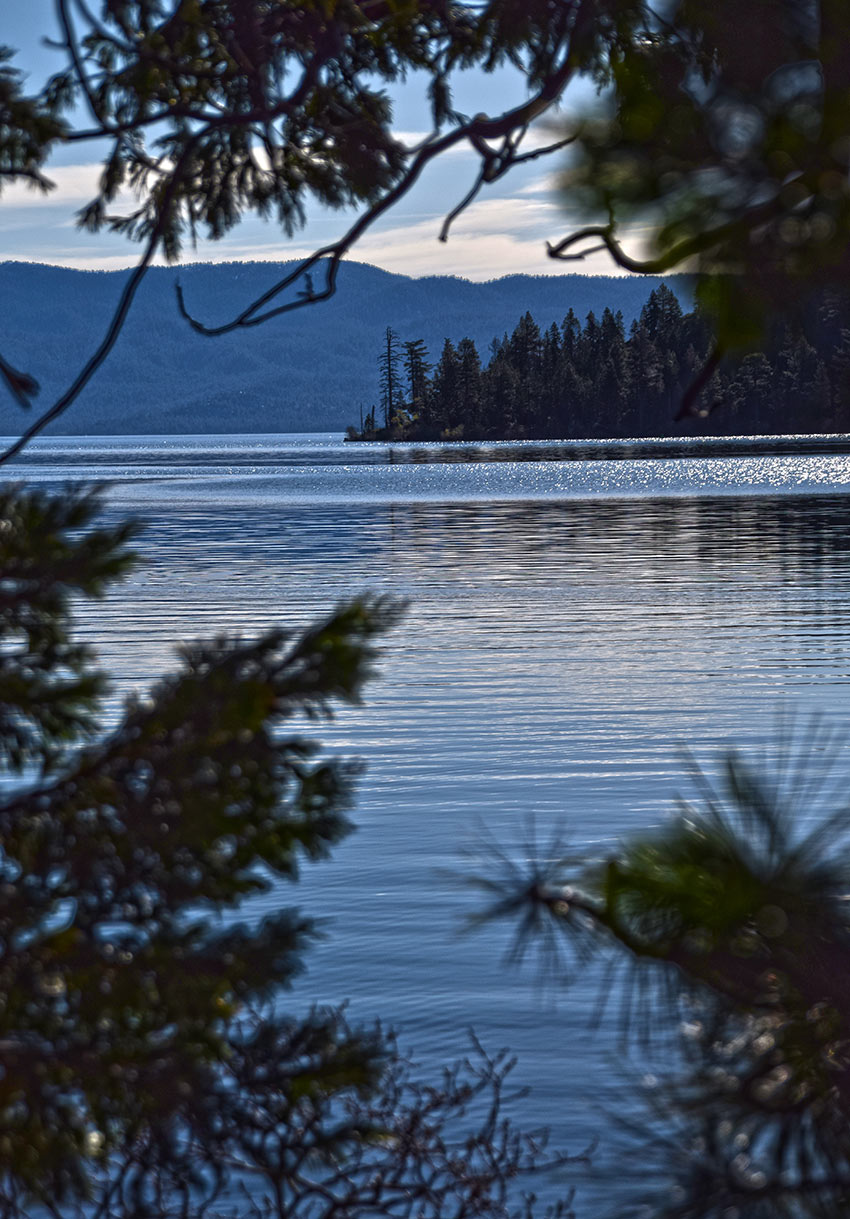
The trail to Emerald Point is stunning. It’s well-maintained, easy to follow, and there are non-stop views of Emerald Bay, Fannette Island, Lake Tahoe, and the surrounding mountains.
The trail is part of Emerald Bay State Park, and there are a lot of other cool places to visit within Emerald Bay.
However, this article is specifically about hiking to Emerald Point so…
You’ll start your trek in the Vikingsholm parking lot (at the back near the pay station).
Within the first mile, you’ll descend about 500 feet. Once you reach the bottom, the trail will be flat. However, you’ll want to pace yourself when hiking with young children or elderly adults. That’s because you’ll have to walk back up and out of Emerald Bay on the return trip. As I said, this is an out-and-back trip.
Instead of hiking to the Vikingsholm Castle (which you’ll want to visit another day), follow the signs directing you to the Rubicon Trail. This will be soon after finishing your descent into Emerald Bay.
Travel about 1.5-2 miles along the Rubicon Trail. At that point, you’ll arrive at the area in which you’ll need to hike off-trail to access Emerald Point. You’ll know you’ve gone too far if the Rubicon Trail rounds the bend and begins to definitively head north.
I hazard to offer as a landmark the large double-trunk dead tree as an indicator of where to hike off-trail for access to Emerald Point. Who knows how long it’ll remain?
However, between that dead tree and just over a tenth of a mile up the Rubicon Trail is where you want to hike off-trail.
Start walking through the open forest in the direction of the mouth of Emerald Bay. This is roughly southeast from the “corner” or bend in the Rubicon Trail. You’ll eventually find Emerald Point.
Essentially, if you walk into the water you’ve gone too far 🙂
For other shorter hiking options, visit Short and Easy Hikes in South Lake Tahoe.
Obviously, be careful when walking through the forest. There are, after all, many tripping hazards since there are no developed trails leading to the actual point. And, face-level branches can scratch and poke you.
It’s really not that dangerous of a route. You just need to be aware of your surroundings like any other time you would hike off-trail.
Please note that dogs and drones are not allowed in Emerald Bay or on any of the trails or roads leading into Emerald Bay.
Also note that on August 12, 2022, illegal campers let their illegal campfire get out of control at Emerald Point. The “Emerald Fire” damaged a quarter acre of land. Fortunately, the first responders contained the illegal campfire/wildfire relatively quickly. Therefore, the landscape may look slightly different than what’s pictured in this article.
For more information and history about Emerald Bay visit the Emerald Bay State Park website.
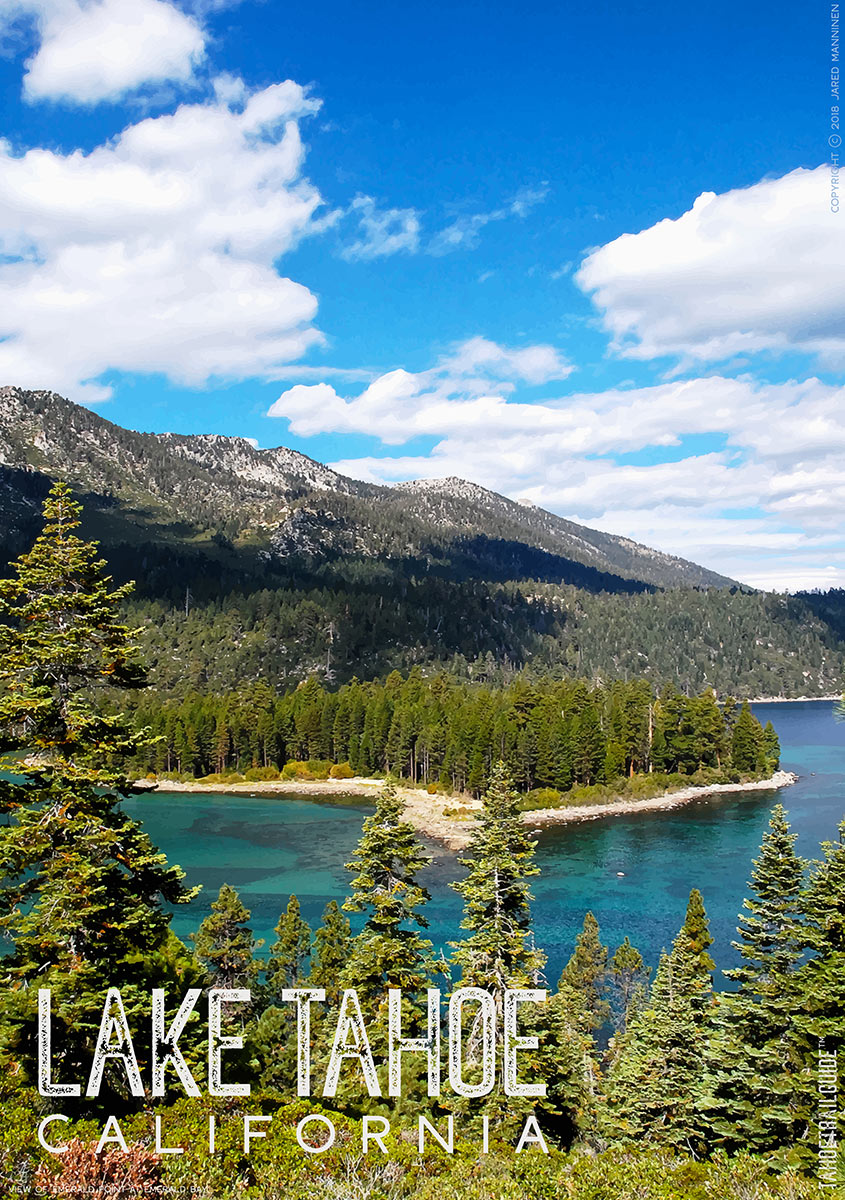
Below is a poster available for purchase. I designed this poster featuring an image taken from Eagle Point of Emerald Point on September 15, 2014.
As you can see, the level of Lake Tahoe was quite low that year. That said, I appreciate how the visible rocks frame Emerald Point in this image.
Click to see all of the prints available at RedBubble.
Do you have other insight, feedback, or trail updates about hiking Emerald Point?
If so, please post it in the comment section below for the benefit of everybody 🙂
9 thoughts on “Hiking Emerald Point (north side of Emerald Bay in South Tahoe)”