Lake Tahoe locals and visitors alike tend to drop their guard during the spring. We’ve made it through the punishing winter. Now we’re looking forward to the longer days and warmer sunshine of summer. The roads are bare. The trailheads are free of snow. So that first hike of the season is going to be smooth sailing, right? Best to be prepared for your outdoor hiking adventure by learning these tips for hiking in the spring at Lake Tahoe.
The reality is that wishful thinking won’t melt away the snow from the higher elevations. Nor is it going to dry out those hiking trails that travel through meadows in the lower elevations.
Support Tahoe Trail Guide with a financial contribution via PayPal (single contribution) or Patreon (reoccurring contributions). Your support of Tahoe Trail Guide is very much appreciated!

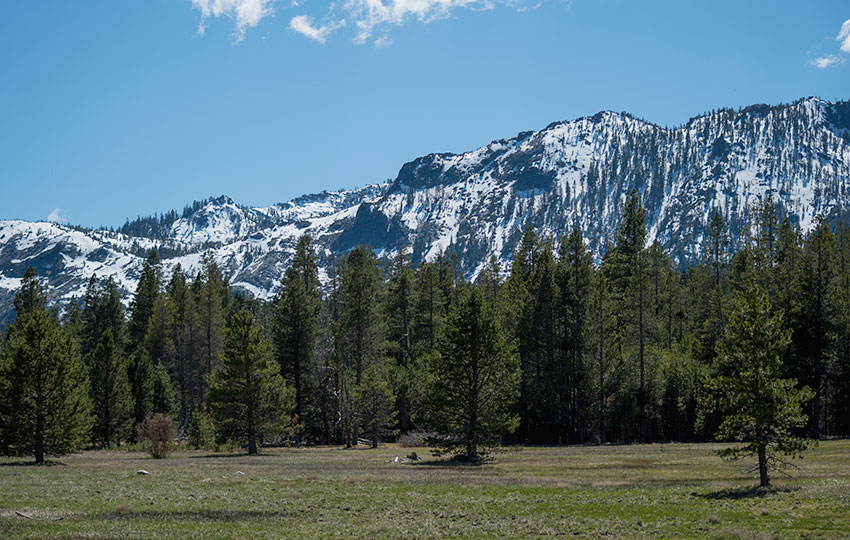
Springtime at Lake Tahoe is the most transitional of the four seasons.
Spring storms can produce gobs of wet and sticky snow. The increased daytime air temperature and intensity of the sun melts the existing snow at a rapid rate. Cold nighttime temperatures persist into the summer causing the remaining patches of snow to freeze at night.
And, the plant life that was dormant during winter returns to life. This means that the terrain is sensitive and susceptible to damage.
There’s a lot going on in the mountains during the spring. For that reason, I find spring to be the most challenging season in which to hike.
I’ve previously written about the volatile nature of spring conditions at Lake Tahoe. But, that companion article is broader in scope. It focuses more on anecdotes and stories about spring hiking at Lake Tahoe. I consider it to be good food for thought. And I do recommend reading it if you’re unfamiliar with hiking at Lake Tahoe during spring conditions.
This article, on the other hand, focuses more on the how-to and nuts and bolts of spring hiking in the mountains.
I wrote this article about hiking, not advanced mountaineering. Because this article is for beginner and intermediate adventures, most of my recommendations are common sense solutions rather than technical skills requiring specialized gear. Also note that I fully embrace the philosophy that “the summit is optional, the descent is mandatory.” There’s no benefit to becoming a casualty of the mountains, so I always advocate turning back when in doubt.
Below is a comprehensive video I produced about hiking at Lake Tahoe in the spring. This video covers the tips I write about in this article, as well as the considerations I pose in the companion article about volatile springtime conditions in the mountains at Lake Tahoe.
For the Love of Snow
I watch the snow closely from the first storm to its end-of-season melt. Throughout the winter, I record in my field journal snowpack levels and the severity of each snowstorm. I witness firsthand the state of the snow in the mountains when I go to work and return home. Conditions permitting, I play in the snow nearly every day of the winter.
I don’t express this in order to brag about my mountain lifestyle. Instead, I simply offer it as evidence of my love for snow. That said, I’m just as human as the next person. So when the winter is over, I also want the snow to be gone!
But snow in the mountains is a good thing. It provides a time-released water source throughout the summer for nearby regions. In fact, the Sierra Nevada snowpack provides California with approximately 30% of its water needs.
Snow Presents the Biggest Challenge to Spring Hiking in the Mountains
Regardless of the season, hiking is business as usual if you’re not faced with snow. But when snow is present, particularly in the spring, things can get downright ugly.
When hiking in the higher elevations, you often have to deal with large sections of snow. To make matters worse, snow in those higher elevations freezes at night. By morning, those sections of snow are firm and icy. As you might imagine, slipping down an angle of icy terrain can have grave consequences.
But physical snow isn’t the only thing you have to consider when hiking during the spring.
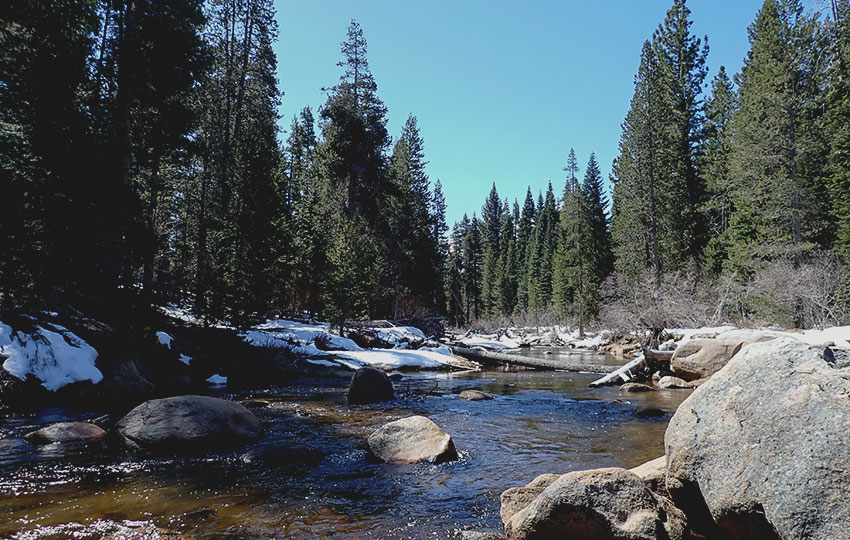
All of that snow melts during the spring and runs downhill. So, in the lower elevations the trails are often muddy and can be flooded. More concerning, however, are the water crossings you may have to face. Rivers and seasonal streams alike can present hazardous scenarios during the spring due to becoming swollen from the runoff.
So, hands down, snow is your primary concern when it comes to spring hiking in the mountains.
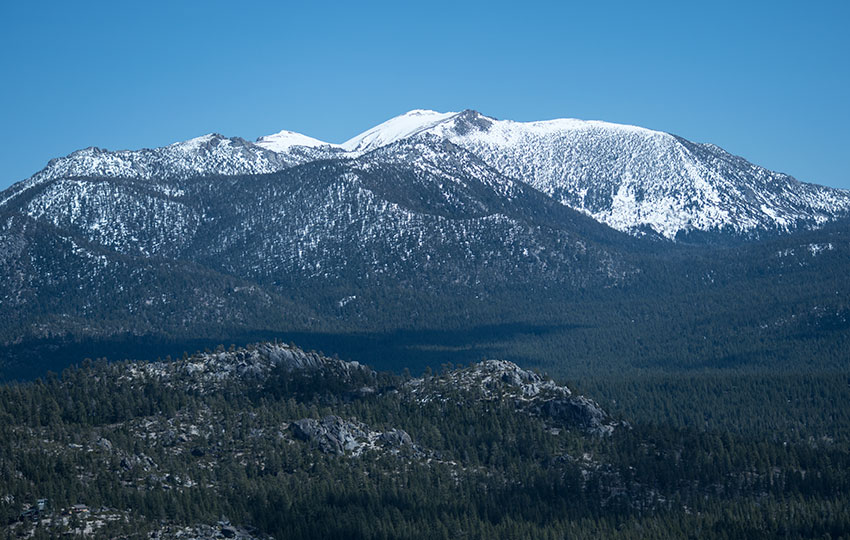
Tips for Selecting Favorable Mountain Hiking Terrain During the Spring
After drought winters you can find dry trails as early as March. When the previous winter is “normal,” expect to find snow in the high elevations well into June. Following an above average winter, snow will persist into the fall.
Just for perspective … I personally know a Lake Tahoe local who has backcountry skied every month of the year since 2004.
I’ll let you do the math.
For questions about the snowpack around Lake Tahoe, visit the Sierra Avalanche Center’s website. The Sierra Avalanche Center provides a tremendous service and I highly recommend signing up for their daily avalanche updates. Typically, they publish avalanche updates until the first week of May.
Read that last sentence and let it sink in.
To be clear … it’s guaranteed that there’s an abundance of snow in the backcountry if the Sierra Avalanche Center is still publishing avalanche reports. So, be forewarned if you plan to hike in the mountains at Lake Tahoe while they’re still publishing reports about avalanche conditions.
That said, you can always find fun spring hiking trails at Tahoe regardless of the previous winter’s snowpack. You just need to be flexible and willing to modify your plans.
Also note that to access many popular Lake Tahoe hiking trails, you have to pass through a Forest Service gate. However, these gates are closed between November and May. Check with the Lake Tahoe Basin Management Unit for gates located within the Lake Tahoe Basin. Otherwise, check with the managing Forest Service unit for whatever National Forest in which you’ll be traveling outside of the Tahoe Basin.
I highly recommend determining before leaving the house whether or not the gate to your intended trailhead is actually open. I’ve made the mistake more than once early in the season of assuming a gate was open (when it was not). This usually happens to me following a drought winter. I forget that even though there might not be snow on the ground, Forest Service gates at Lake Tahoe are always locked between November and May.
Some other general tips for finding favorable hiking trails in the spring:
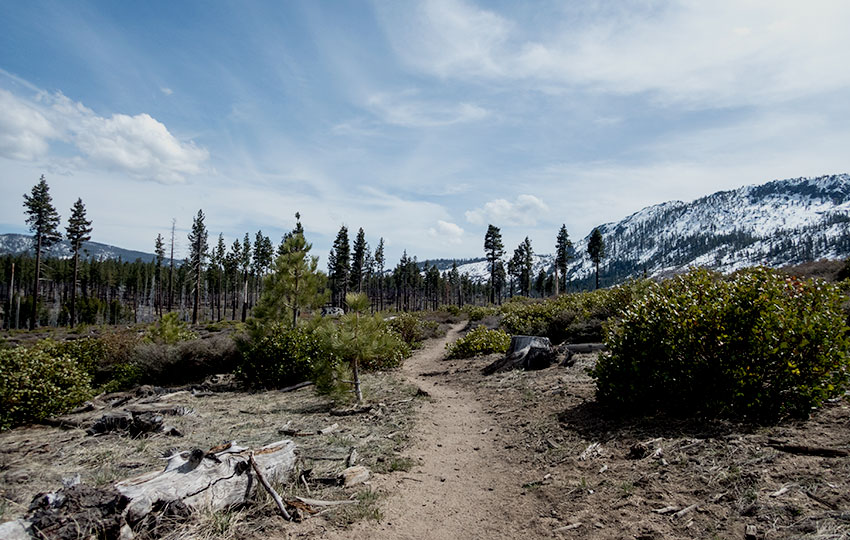
- Choose hiking trails at a lower elevation (i.e. closer to “lake level”). Snow accumulates less in the lower elevations and is quicker to melt in the spring.
- Choose a hiking trail that generally features south and west facing aspects, where snow melts faster and earlier. Snow lasts longer in north and northeast aspects of mountains.
- Be mindful of selecting a trail that travels through meadows and near water features. These trails will be wet and muddy. And, the adjacent terrain will be highly sensitive and susceptible to damage. Don’t walk around wet and muddy sections of the trail just to avoid getting your shoes wet — you’ll be destroying sensitive plant life.
- Choose hiking trails that have less elevation gain. Snow persists in higher elevations.
For early season hiking options in South Tahoe, see my list of Short and Easy Hiking Trails in South Lake Tahoe for suggestions. Many of those hikes are at lower elevation so they’ll be drier earlier in the season.
Another Disclaimer about Negotiating Spring Snow in the Mountains
As I’ve mentioned repeatedly, snow presents the biggest challenge for spring hiking. Nowhere is this more evident than in the higher elevations.
But before I go any further, I want to reiterate that I wrote this article for beginner and intermediate adventurers. I did not write this for seasoned mountaineers who possess the appropriate skills and tools to negotiate hazardous terrain.
Therefore, the common denominator to all of my tips for negotiating snow in spring conditions is to turn back whenever you’re in doubt.
There’s no shame in leaving that trail for another day when reaching an impasse that carries with it catastrophic results (if you slip). Let go of the bravado and embrace being level-headed and logical. Why orphan your children? Don’t cause your wife or husband to become a widow. Your parents don’t want to survive you.
At all costs, resist the urge to try and scramble across that icy angle of terrain without the proper skills or tools!
Tips for Dealing with Snow while Spring Hiking in the Mountains
There are many considerations for hiking in the mountains during the spring. So, I’ve separated my list into subsections.
Start Later in the Morning When Planning to Hike Up in Elevation
I avoid hiking early in the day when traveling uphill because the snow is firm and slick first thing in the morning.
Always keep in mind that you don’t need the entire trail to be icy for your experience to be miserable. You just need a small enough section of terrain on which to slip in order to wreck yourself.
By taking your time to arrive at the trailhead when planning to head uphill, you give the snow a chance to soften up. Soft snow makes for wet shoes, but safer travel. Also, the softer snow will enable you to “kick steps” up or downhill more effectively. Again, making for safer travel.
I start hiking between 9-10 AM when I know that I’ll be encountering snow in higher elevations.
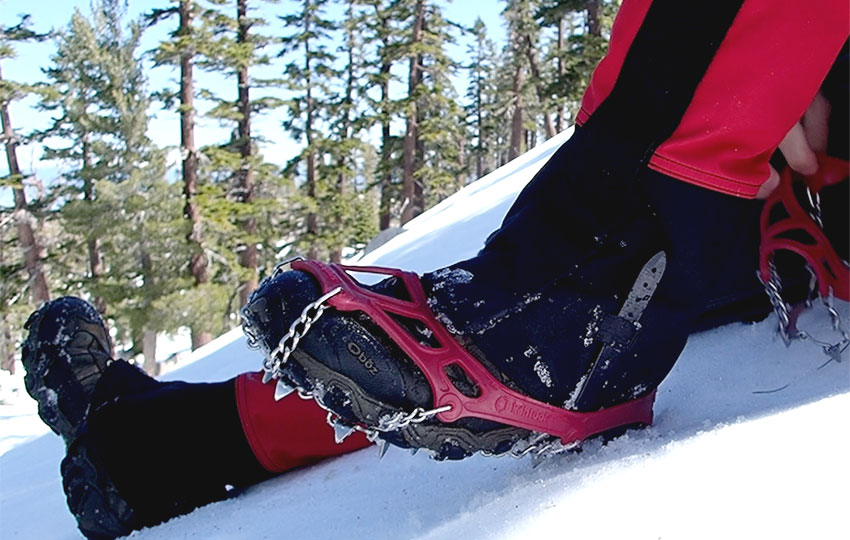
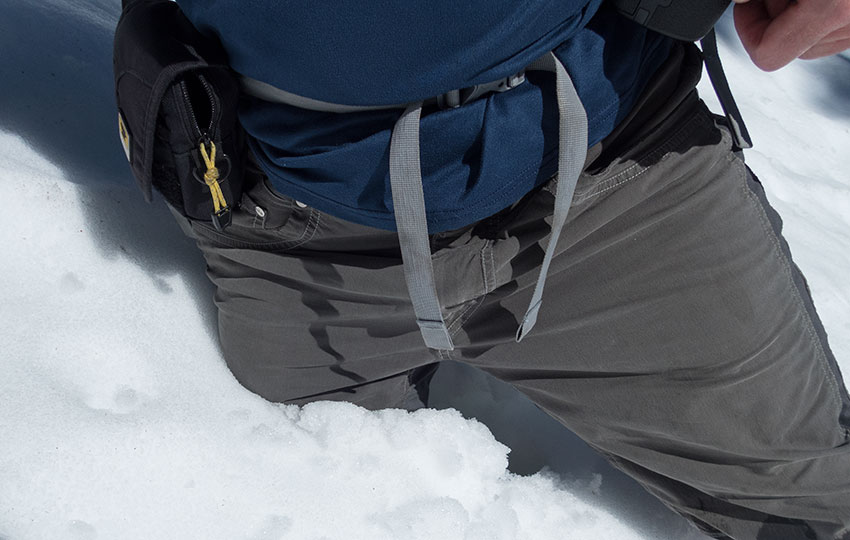
On a spring hike I always pack a set of foot traction devices. This is the one piece of technical gear I recommend everyone carry when spring hiking. There’s always one small section of slippery snow that could be easily navigated with foot traction devices. Foot traction devices are easy to put on and inexpensive, all things considered.
I prefer Kahtoola brand’s MICROspikes. They’re the most secure foot traction device that I’ve used. They don’t fall off of my shoes while walking, which I’ve found with other brands and styles. They’re also aggressive compared to some of the lighter duty versions of foot traction devices.
In all fairness, though, Kahtoola makes them for mountain travel whereas many companies just make them for shoveling your driveway during icy conditions.
Realistically, any foot traction device will be better than your rubber-soled shoes for negotiating icy terrain. But it’s up to you to decide whether or not they’ll save your life. When in doubt, turn back.
Trekking poles help with balance, but do little to deal effectively with ice. In fact, I find that trekking poles just give me a false sense of security when traveling up or down firm and icy snow. And I say this as an Appalachian Trail thru-hiker (1999) who’s been using trekking poles for over 20 years.
Having secure footing (i.e. softer snow or MICROspikes on firm snow) is a safer plan. But, again, your safety is your responsibility.
Postholing Sucks
I don’t recommend even bothering with any type of longer snow travel if you arrive at the trailhead at noon or later.
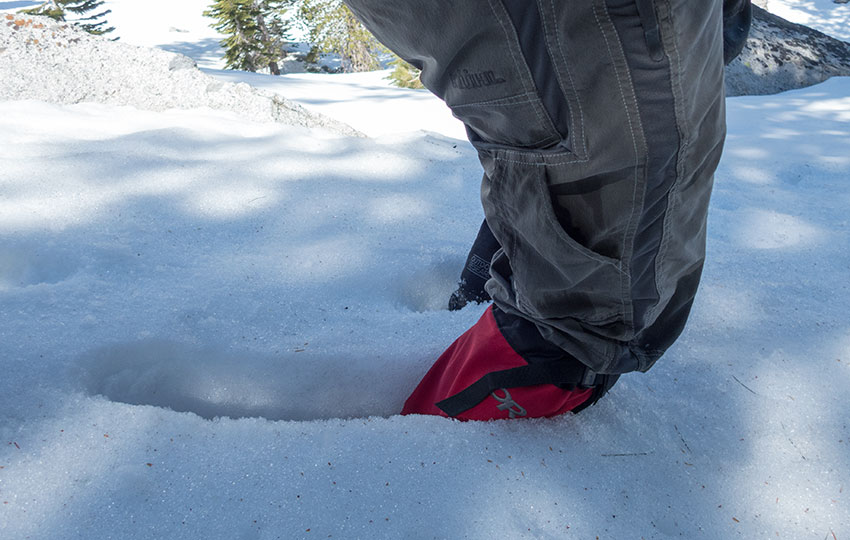
By midday during the spring, snow transforms into slop. Wet feet is bearable. However, postholing due to the snow being excessively soft and yielding is aggravating and potentially dangerous.
Postholing occurs while walking naturally across snow that appears to be solid. Initially, the snow will feel like it’s going to hold under your lead foot. But when you transfer your weight onto it, your foot breaks through the snow and plunges beneath its surface.
In no way, shape, or form is this fun.
How deep you posthole is dependent on the terrain. If you’re traveling across a uniform section of snow, you’ll probably just sink to your knees. Needless to say, this is exhausting and your rate of travel decreases exponentially!
When there are underlying structures such as fallen trees or boulders, however, you can sink much farther. This is because there are usually empty pockets surrounding those objects. Basically, there’s nothing to hold you or the snow up once you put your weight on the spot.
Believe it or not, I’ve postholed to my chest before. And, yes, it’s as terrifying as you might imagine.
One way to mitigate risks involved with postholing is to walk with your knees slightly bent and landing on the balls of your feet.
This serves two purposes.
- Walking with knees slightly bent and landing on the balls of your feet can help to prevent hyper-extending your knee should you posthole. Most people walk by letting the heel of their lead foot initially contact the ground. Then the foot rolls forward so that the person can push off with the balls of their foot. This is normal. But this motion lengthens your leg so that it becomes straight momentarily with each stride. During the straight-leg phase, you could potentially hyper-extend your knee if you posthole while your upper body continues to travel forward. This is more likely while hiking downhill.
- Walking with your knees slightly bent allows you to push your knee forward should you begin to posthole, creating more surface area on which to land. I don’t know that I’ve ever seen this technique actually taught or written down. I just naturally started to hike this way over snow in an effort to reduce the risk of hyper-extending my knees. But I quickly realized that it offered another benefit. Pushing my knee forward when I felt like I was about to sink created more surface area which helped to prevent me from plunging deeper into the snow. Basically, I’m using my shin and foot to stay “bouyant” rather than just my foot.
A trick I’ve developed for recovering from a deep posthole (above the knee) is to pull your leg out of the snow rather than push yourself up from the hole.
Taking a huge step up (from the deep posthole) requires a lot of effort and puts stress on your lead knee. And most of the time you’ll just wind up postholing again with the lead foot since the snow around the posthole will already be weak.
Instead, take a seat and pull your leg out of the posthole while you roll away from it. Again, you’re benefiting from an increased surface area. In this case, it’s your ass. Obviously, some people will have more surface area with which to work than others.
For times when you plunge into the snow with both feet, assume an athletic stance and brace for impact.
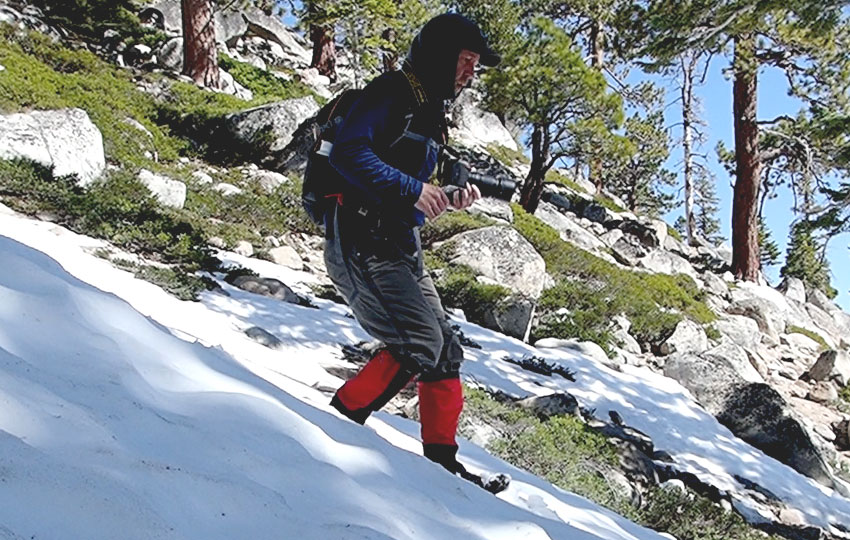
In spite of my love/hate relationship with them, I admit that gaiters can be helpful to prevent abrasions to the lower leg. However, I’ve always found their ability to provide a barrier between the pant leg and the snow questionable. Whenever I’ve used gaiters in situations where I’m plunge-stepping constantly (i.e. spring hiking), they tend to cause the snow to pack up inside the gaiter alongside my ankle. So, I can’t 100% recommend them for all situations. You’ll just have to decide for yourself.
Avoid Starting too Late in the Day When Planning to Hike Up in Elevation
Again, postholing in soft snow heated up by the midday sun kills motivation. But that softer, melting snow presents other major hazards.
Loose wet avalanches can occur. As snow turns to slush under spring conditions, the snow releases from a point and then fans out as it slides down the mountain. Obviously, a loose wet avalanche could produce a catastrophic outcome if you got swept up in one of them.
A loose wet avalanche is most likely what wrecked a woman from Tahoe who was backcountry skiing near Kearsarge Pass (April 2020). And, the couple in this incident actually started skinning up the mountain around 9:30 AM. So, mountain travel can be a tricky thing no matter how much you plan.
Snow cornices can easily break off as the snow melts in spring. A cornice is essentially an overhang of snow. Cornices can break off in large blocks, and then tumble down the mountainside. They are dangerous in and of themselves, but can also trigger a loose wet avalanche.
Never walk on a ledge of snow or a cornice. And, avoid walking beneath cornices. If the trail does pass beneath a cornice, even one that’s high above you, pay close attention to it and be prepared to move fast.
Traveling Up and Downhill in the Snow
Kicking steps is a basic and intuitive method of traveling up or downhill in the snow. To establish secure footing from which to push of so that you can hike naturally, simply “kick” a step into the snow.
When hiking uphill, kick the snow with the front of your shoe.
When hiking downhill plunge-step, or sink your heel into the snow.
With both approaches, keep your weight over your feet and remain in an upright position. You want your body perpendicular to the force of gravity. Don’t lean too far forward or too far back.
Kicking steps can be time-consuming, so pace yourself. The task is made even more challenging when the snow is firm and you’re wearing soft-soled shoes. But, no matter what, your goal is to ensure that you have a stable foothold so that you can confidently take your next step.
As tempting as it may be to follow in the footsteps of someone else’s steps, be wary of doing so on firm and icy snow. Icy steps are just as dangerous as icy slopes. It doesn’t take much to slip on an icy step.
For times when hiking directly up or down a snowy slope is nerve-wracking or unsafe, side-step your way over the terrain feature. But, make sure that you’re still kicking steps or making those plunge-steps by using the uphill side of your shoe. And continue to remain upright and perpendicular to the force of gravity.
You can modify the side-step/kick-step to traverse (traveling across) an angle of terrain either up or downhill. The trick, again, is to make sure you kick those steps with the uphill side of your shoes.
When encountering a dangerous patch of icy snow, determine whether or not you can simply go around it.
That said…
- don’t cut switchbacks or risk damaging sensitive land.
- don’t go around the snow patch if the alternative is more dangerous.
- wait for the snow to soften up before continuing your hike.
- if the snow patch isn’t possible to negotiate without grave consequences, call it a day and return the way in which you came.
When traveling with another person or in a group, be mindful of those going uphill ahead of you or coming downhill behind you. One person could easily take out the whole crew.
The lead person going uphill could fall downhill on top of everyone. And, the tail-end person on a descent could slip and crash into everyone on their way down.
- Space out.
- Be patient.
- Wait for people to reach a safe area in which to rest while letting the next person up or down the trail.
Crampons, Ice Axes, Glissading, and Self-Arrest
Understanding the use and function of crampons and ice axes, as well as knowing how to glissade and self-arrest are essential mountaineering lessons.
I will state again, however, that this article is about hiking not mountaineering. Many would argue that they’re one in the same. I, on the other hand, would argue that for the average person if it comes to the need for using that gear and those techniques, just turn back.
Besides, your average hiker will never own a set of crampons or an ice ax. And even though I own both, I seldom use either. This is because I simply turn back when the terrain gets to the point where I need crampons and an ice ax.
Years ago, I would crank it up to 11. Today, however, I have nothing to prove.
That said, actual crampons are definitely effective for traveling across ice. And, an ice ax is an absolute critical piece of technical gear for traveling across snow and ice in steep terrain.
Glissading is the technique of sliding down a snowy aspect of terrain on your butt or feet. It’s fun when the conditions are right. The snow has to be firm, but not too firm. And it has to be soft, but not too soft.
Real specific, huh?
You also need to have an appropriate run-out for the angle of terrain in which you’ll be sliding. You don’t want to go sailing into rocky debris or off a mountain ledge, do you?
Basically, you’re sledding without a sled. And if you can’t control your speed and the run-out isn’t of an appropriate angle or length, you’re screwed. This is where an ice ax and the knowledge of how to use it for self-arrest (i.e. stopping yourself) is imperative.
Oh, and if you happen to slide over a protruding object, you’re screwed. You could be on your feet and hit that same object or wind up postholing and, again, you’re screwed.
So, as much as I love to glissade it’s not without its risks.
But what about trekking poles for self-arrest?
Use them if you have them and only if it’s absolutely necessary. However, know that depending on angle of terrain and quality of snow, trekking poles are not effective tools for self-arrest. General mountaineering-based self-arrest techniques are based on the geometry of a standard ice ax. And in situations where you don’t properly employ the use of an ice ax, even the ice ax becomes useless.
In the meantime, avoid firm snow-covered terrain where you believe self-arrest may be necessary. Or, if possible, travel around the problematic feature.
But all of this is beyond the scope of this specific article, so I’ll leave it at that for now.
Just know that your safety is your responsibility. Always.
Water Features are Plentiful during the Spring
There’s no question that the majority of amazing hiking trails at Lake Tahoe are higher in the mountains. Fortunately, there are some wonderful trails closer to lake level. That is to say, they’re located at lower elevations.
Read my list of Short and Easy Hikes of South Lake Tahoe to see many of my personal favorite early season hikes.
Lower elevation hiking trails, however, are not without their own inherent issues and risks due to the snowpack. Often, large sections of these trails are muddy and/or submerged in water due to snowmelt. Often, water crossings, whether they be across an actual river or just a seasonal stream can be dangerous.
Tips for Negotiating Water Features when Spring Hiking
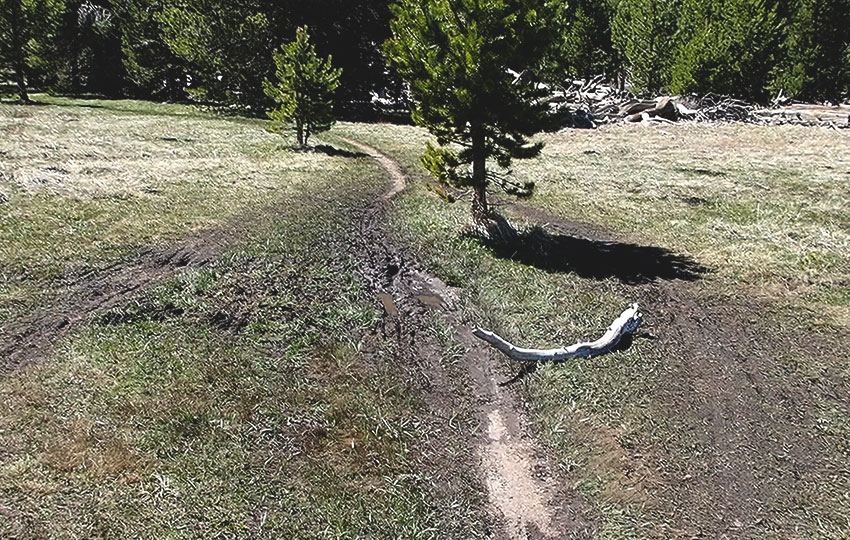
Contrary to your instincts to walk around wet and muddy sections of trails, you’re supposed to walk directly down the middle of them. This is one of the key tenets of the Leave No Trace Seven Principles. Under the principle of traveling and camping on durable surfaces is the imperative to “walk single file in the middle of the trail, even when wet or muddy.”
Nobody likes to get their feet wet, but the damage created by intentionally avoiding wet sections of a trail is irrevocable. “Social” trails created to avoid water features destroy sensitive ecosystems, increase erosion, and create a blight on the landscape.
Wear older shoes when spring hiking. Then it doesn’t matter how dirty they become. As a result, you’ll have less of an excuse to go around wet and muddy areas.
I still own multiple pairs of decommissioned hiking shoes that I use for yard work and early season hiking. Thanks to these applications, I’m able to get more miles out of them before having to throw them away forever.
I also prefer to wear non-waterproof shoes when hiking in the spring. Admittedly, this isn’t intuitive. However, it is logical. Waterproof shoes, no matter how good they are, will often become soaked completely during a spring hike. And a waterproof shoe takes a long time to dry.
Also, if I’m hiking a lower elevation trail which doesn’t include a lot of ups or downs, I won’t necessarily need the foot or ankle support that comes with a beefier hiking shoe. Therefore, I may elect to simply wear a pair of old running shoes. They’ll get wet faster but, again, they’ll also dry out a lot faster.
Be extremely cautious when considering crossing a snow bridge over a water feature. Postholing to the ground is annoying. Falling into an icy and swift flowing river can be fatal.
Hopping along boulders and logs seems an obvious choice for crossing a water feature. However, those boulders and logs will probably be wet and slick. One small slip can mean either the end of your hike or the end of you.
Once again I will state that this article is intended for beginner and intermediate adventurers. So unless it’s a matter of life or limb, don’t attempt to make any water crossings where the water is above knee high. And even then, be wary of the endeavor.
I can’t emphasize enough the dangers inherent with water features during the spring.
When in doubt, turn back.
Be mindful of hiking across dry grasses and marshy terrain during the spring. Once the snow melts from these areas they are highly sensitive and susceptible to damage. If your foot leaves an imprint in meadow-type terrain, stay off of it completely.
Stick to durable surfaces on your spring hike. Most often this will simply be the hiking trail on which you’re traveling. That said, snow is also considered a durable surface. But all of the same concepts as I’ve previously mentioned still apply (i.e. postholing).
Final Thoughts about Spring Hiking in the Mountains
Unless the previous winter was a drought, be prepared for wet, muddy, and difficult conditions on your spring hike in the mountains. My biggest recommendation is to dial back your expectations. Embrace that mindset until mid-June. After that, you can complain all you want about the hiking conditions not being ideal.
I recommend scheduling your biggest mountain hikes for later in the summer. Trying to attempt a high altitude hike in late spring when the previous winter received normal or above normal snowfall could be challenging and dangerous. Additionally, you’re less likely to be in great physical hiking shape at the beginning of the summer.
Be mindful of exposure. Your skin isn’t used to all of the sun having been shielded by winter clothing for the previous few months. Also know that snow reflects sun back up into your face and eyes. Wear pants, a long-sleeved shirt, hat, eye protection, and sunscreen.
Also pack enough layers of protective clothing to deal with any late season snowstorms. They happen. And they can appear suddenly and without warning. Just because it’s warm in the lower elevations doesn’t mean that the same conditions exist up high.
I shouldn’t have to tell you this, but carry and drink enough water and food. Dehydration is a constant challenge regardless of season when hiking at altitude. Hiking in the mountains no matter the season requires plenty of calories.
Between the snow, slow travel due to the snow, lack of peak physical fitness, and the increased exposure (again, due to the presence of snow), you could wind up being miserable. Or, you may actually find yourself in a dangerous situation.
Pace yourself. Build up to the more strenuous hikes as the season progresses.
And, most of all, be safe out there.
Thanks for tuning in. Post any feedback or questions about your experience hiking in the mountains during the spring in the comment section below 🙂
One thought on “Tips for Spring Hiking in the Mountains at Lake Tahoe”