In this final installment of my 8-part series of articles about planning your next backcountry trip, I’ll share with you my thoughts on returning home from a backcountry adventure. Undoubtedly, the first thing you’ll want to do is jump in the shower to wash off that trail grime. Then, you’ll probably want to eat a gluttonous meal filled with fat and calories.
By all means, handle your business.
However, I highly recommend resisting the urge to sleep or lounge around for the remainder of the day. You still have a little more work to perform before you can officially call your backcountry trip over.
Support Tahoe Trail Guide with a financial contribution via PayPal (single contribution) or Patreon (reoccurring contributions). Your support of Tahoe Trail Guide is very much appreciated!

First and foremost, you have to clean your gear and prepare it for storage. It doesn’t matter whether you’re planning to store it for the rest of the season or just a week or two. You need to make sure all your gear is thoroughly cleaned and dried. That’s the hard part, and it’s a requirement for finishing your trip.
More enjoyable aspects of your post-adventure homework is to review your backcountry trip and then share your story. Although these activities are optional, I highly recommend at minimum performing a post-backcountry trip analysis. Read on to see why.
Please note that throughout this core, 8-part series of backcountry trip planning articles, my example backcountry adventure (goal) was to thru-hike the Tahoe Rim Trail. However, all of this information I provide is just as applicable for backcountry excursions ranging from a quick overnight trip to a 6-month thru-hike of the Pacific Crest Trail.
Gear Maintenance After Your Backcountry Trip
Although I totally understand that cleaning your gear after having spent multiple days on a backcountry adventure sounds about as appealing as slamming your fingers in a door jam, it’s non-negotiable. And, the more you procrastinate the easier it will be for you to put off indefinitely this critical task. Reasons for cleaning and repairing your gear immediately upon returning home from your backcountry trip include:
- Your gear will last longer
- Your gear will be more reliable
- You’ll have a better understanding of your gear so that you’ll be aware of its potential weaknesses or flaws (and hopefully be prepared to devise a field repair if necessary)
You’d be surprised, for example, the amount of damage that the little bit of condensation and moisture from your last night on the trail can cause to your tent if left unchecked. And if you experienced wet and muddy conditions at any time during your trip, fuggetaboutit (Donnie Brasco speak for … you better clean that shit ASAP or else you’re gonna be buying all new gear).
Moisture left on soft goods can transform into mold, and metal will either rust or form permanent marks of discoloration. Grit and sand trapped in soft goods will cause micro-abrasions to the fibers, mechanically wearing off fabric coatings and compromising the structural integrity of the gear. And, the salt and oils from your sweat can chemically break down the water repellant coating on fabrics and deteriorate their fibers.
So if you don’t clean your gear soon after returning from your backcountry trip, you may find that the next time you pull it out you’ll either have to work doubly hard to clean it or you’ll have to buy replacement gear.
Fortunately, cleaning your backpacking gear is a fairly simple process:
- Use a mild soapy solution (I usually just use a quick squeeze of dish soap in a bucket of clean water)
- Gently scrub your gear with a cloth or soft-bristle brush using the soapy water
- Rinse the gear off thoroughly (I hose off larger objects such as tents and sleeping pads and rinse smaller items in the sink)
- Let everything completely air dry (but don’t leave it in direct sunlight as the UV rays can cause damage)
Once you’ve cleaned your gear and it’s had a chance to dry, visually inspect it for damage. If necessary, perform any fixes to your gear such as stitching or patching rips and tears. Depending on the age and condition of your soft goods, you could also re-coat them with one of the many aftermarket waterproof/repellant solutions available. This process warrants an entire article by itself so I’ll cover that later.
Put your gear in storage until your next adventure. I keep my larger and more durable items such as tents, sleeping pads, and backpacks hanging in a cool storage shed. My sleeping bags are kept loose in large stuff sacks in a closet. And, I store my smaller items such as cookware and water filtration and bladders in plastic bins.
You can find more specifics about cleaning and maintaining your backcountry gear by reading my series of gear maintenance. Please note that this category is currently a little thin, but stay tuned!
Post-Backcountry Trip Analysis
Analyzing your adventure or reviewing the results of achieving your goal is the last step of the decision-making process (outlined in Part 3 of these trip planning articles). This is definitely some “down to business” type of work to perform after returning home from your backcountry trip. However, who doesn’t naturally take time to reflect on an adventure or big project?
The process should be relatively painless. In fact, it should actually help you when preparing to share your story as you’ll be recalling many of the details of your trip, for better and worse.
Basically, you want to evaluate all aspects of your backcountry adventure to determine what you did and didn’t like, and what did and didn’t work. Below are some starting questions you could ask yourself. To gain a clearer understanding of your backcountry experience, you’ll obviously want to answer these questions beyond a simple yes/no by further asking why/how.
- Did you adequately prepare physically and mentally for your adventure?
- Did you prepare efficiently and effectively for your adventure?
- What gear did you use and what gear did you choose not to use?
- What gear would you like to replace or wish you had?
- Could you use help from someone else next time?
- What was the best part of your experience?
- What was the worst part of your experience?
- Did your experience meet, exceed, or fall below your expectations?
- What unique lessons did you learn?
- How could you integrate experiences from the trail into other aspects of your life?
Many people share a general love of outdoors, but most people have a unique way of enjoying their backcountry experience. By reflecting in a conscious way through this type of question and answer session, you’ll gain greater insight into what it is that you truly want out of your outdoor experience and next backcountry trip.
Sharing the Story of Your Backcountry Trip
Everyone has a story to tell. They may not all be wrought with high drama and intrigue but stories are stories, and framed properly they can entertain and inspire people.
Unfortunately, in our social media-inspired culture, our default presentation has been reduced to either a massive photo album upload on Facebook or a 2-second Boomerang video on Instagram. Sorry folks, but neither of these options are interesting or compelling.
Uploading dozens of photos (most of which are probably just variations of the same composition) is the equivalent of starting a conversation with the words, “I gotta tell you about this dream I had last night…” Unless you can sum it up in a sentence or two, keep it to yourself.

The harsh reality is that most people don’t care that much. That’s understandable, though. We all have our own lives to deal with and limited time and energy to see how awesome your life is. So, be selective and post only your best images. Also keep in mind that with any presentation, including poor images (for any reason) reduces the overall quality of the presentation.
Lastly, by posting too many images when you return home from your outdoor adventure you remove much of the “mystery” of the experience. The magic dies the moment you pull back the curtain. Don’t believe me? Just ask David Lynch about his thoughts on revealing Laura Palmer’s killer early in the second season of the short-lived cult classic television show, Twin Peaks.
As far as that IG Boomerang thing goes (or similar social media options and apps) … I have yet to see one use of it that doesn’t cause me to feel dumber after having watched it. “I remember when I had my first beer” comes to mind whenever I’m subjected to one of those videos, along with an obligatory eye roll. Just go ahead and uninstall those gimmicks because they’re a waste of your time and mine.
When I said that everyone has a story to tell, I meant it. However, the caveat is that it needs to be framed. Think of framing as the story’s framework, structure, or theme. You could also treat it like a thesis statement, whereby every element (images and words) supports the thesis.
At the very minimum, substitute the idea of framing with editing. For example, pick a few of your best images and then clean them up (i.e. color correction, filter, crop …) before posting. Because if you’re not going to take the time to edit, I’m not going to take the time to look. Time is the only real commodity we have, so don’t waste yours or mine.
If you are conducting an actual presentation for a group of people, publishing a book, or making a documentary, you’ll want to use more imagery and words. For social media, however, keep it brief.

Ultimately, framing a story encourages you to look deeper at your experience to determine the overall lesson(s) learned or challenge(s) overcome. From there, you can start to assemble your presentation.
I realize this takes work, but anything worth doing is worth doing right. And that definitely applies to sharing your story.
For ideas and considerations regarding documenting your backcountry adventure and putting together a quality presentation when you return from your backcountry trip, read my series of trip documenting articles.
Conclusion
I realize this 8-part series of backcountry trip planning articles (and future additional installments) probably gives the impression that my outdoors experiences are totally “down to business.” However, that’s not really the case. I actually do very little specific planning and preparing for backcountry adventures at this point in my life.
The reasons, however, aren’t because I don’t believe this stuff isn’t important or necessary or that I refuse to take my own advice. I’ve just done this outdoor adventuring thing for so long that the processes I’ve outlined in these articles have become second nature to me.
If I was planning a polar expedition or a summit bid for Mount Everest I’d definitely put in the necessary time and effort to plan and prepare for the adventure. But just for basic backpacking and backcountry trips I’m able to operate in a streamlined fashion thanks to having turned the process into a lifestyle.
So as much as I love discussing backcountry philosophy, trip planning, route selection, or fussing over gear selection, don’t make the mistake in believing that (talking) is the experience. Going outside is the experience, whereas the planning and preparing is the necessary work to help you meet your checkpoints along the way and ultimately return home safely.
And the more you become familiar with the process behind executing a safe and successful backcountry adventure, the more it will become a natural extension of your daily life.
Final Thoughts About Planning Your Next Backcountry Trip
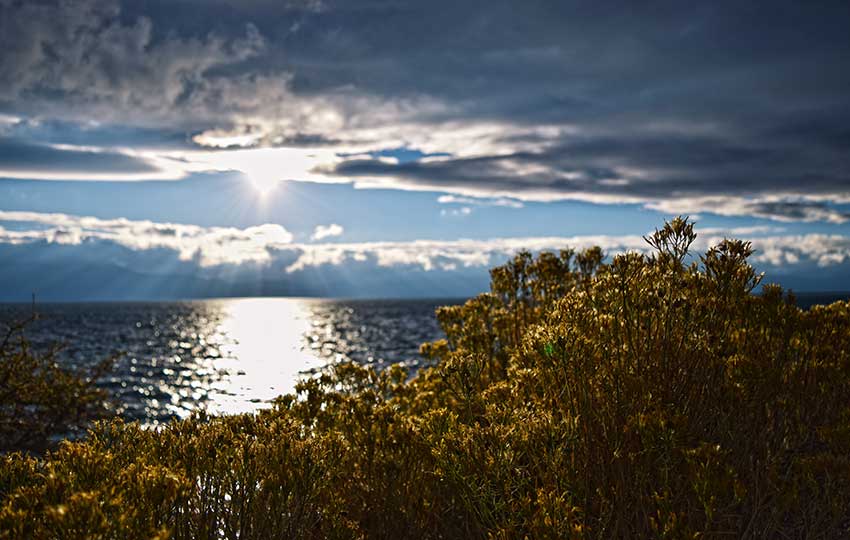
Consider traveling to lesser popular areas rather than major tourist attractions. Everything in the right light (literally and figuratively) can be majestic. Believe it or not, I would take a short overnight adventure in remote terrain any day over a crowded experience at Yosemite National Park. No matter how beautiful a location is crowds are crowds, and they represent the exact opposite reason why I go into the backcountry.
Another consideration when planning your next backcountry trip … if you usually go on short adventures, think about planning for a longer trip. And, if you only go on long, extended backpacking trips, consider making some shorter and more frequent excursions into the backcountry. Both experiences yield vastly different results and are worth experiencing.
Planning Your Backcountry Trip Core Series of Articles:
- The Importance of Establishing a Goal for Your Backcountry Trip
- SMART Goals and Your Backcountry Trip
- The Decision-Making Process and Your Backcountry Trip
- Gathering Information for Your Backcountry Trip
- Evaluating Information and Choosing the Best Option for Your Backcountry Trip
- Planning and Preparing for Your Backcountry Trip
- Executing Your Backcountry Trip Plan
- Returning Home and Post-Backcountry Trip Analysis